Host a Ghost Blog on AWS in 2023 (I) - AWS Setup

I used to share a lot of programming and data science content on the Internet along with a few friends, BulletTech is one of the websites we built to this end, and we have actually learnt a lot during peer review and discussion on those topics. This reminds me of something that I enjoy - writing, even though I might not notice that in the beginning.
When I arrived in the U.S., I decided to pick this up and build my own website in order to have a little place that stores my knowledge, experience and life stories. It does not matter if there is no one interested in this as this is simply what I enjoy doing, in this sense, I just keep writing.
I did some research which platform/tools to use to blog, and finally decided to use Ghost to power the blog because it is open source and it integrates a lot of great features for blogging, more info can be found on the official website of Ghost.

In this post, I want to share some pit falls that I met when serving my Ghost blog on AWS in 2023. As a lot of materials on the Internet are outdated and overcomplicated for someone who just wants to self-host the blog platform without too much hassle, so this post will just introduce a minimum viable way:
- Set up the AWS EC2 and RDS
- Install Ghost on AWS EC2
- Set up Elastic IP
1 Ghost CLI or Docker?
I have been using Docker for Ghost for quite some time, but when I got to deploy the image on AWS and set up Secure Sockets Layer (SSL) certificates in order for the website to run on HTTPS, it does have a lot of hassle. There are indeed a few posts and discussion on this topic, but either they are outdated or too complex to configure if you are not familiar with those settings. I tried a lot of ways shared on the Internet and did not figure it out until I switched to the native Ghost CLI.
2 Configuration of AWS Environment
AWS offers a free tier plan that allows you to use a EC2 for 12 months for free.
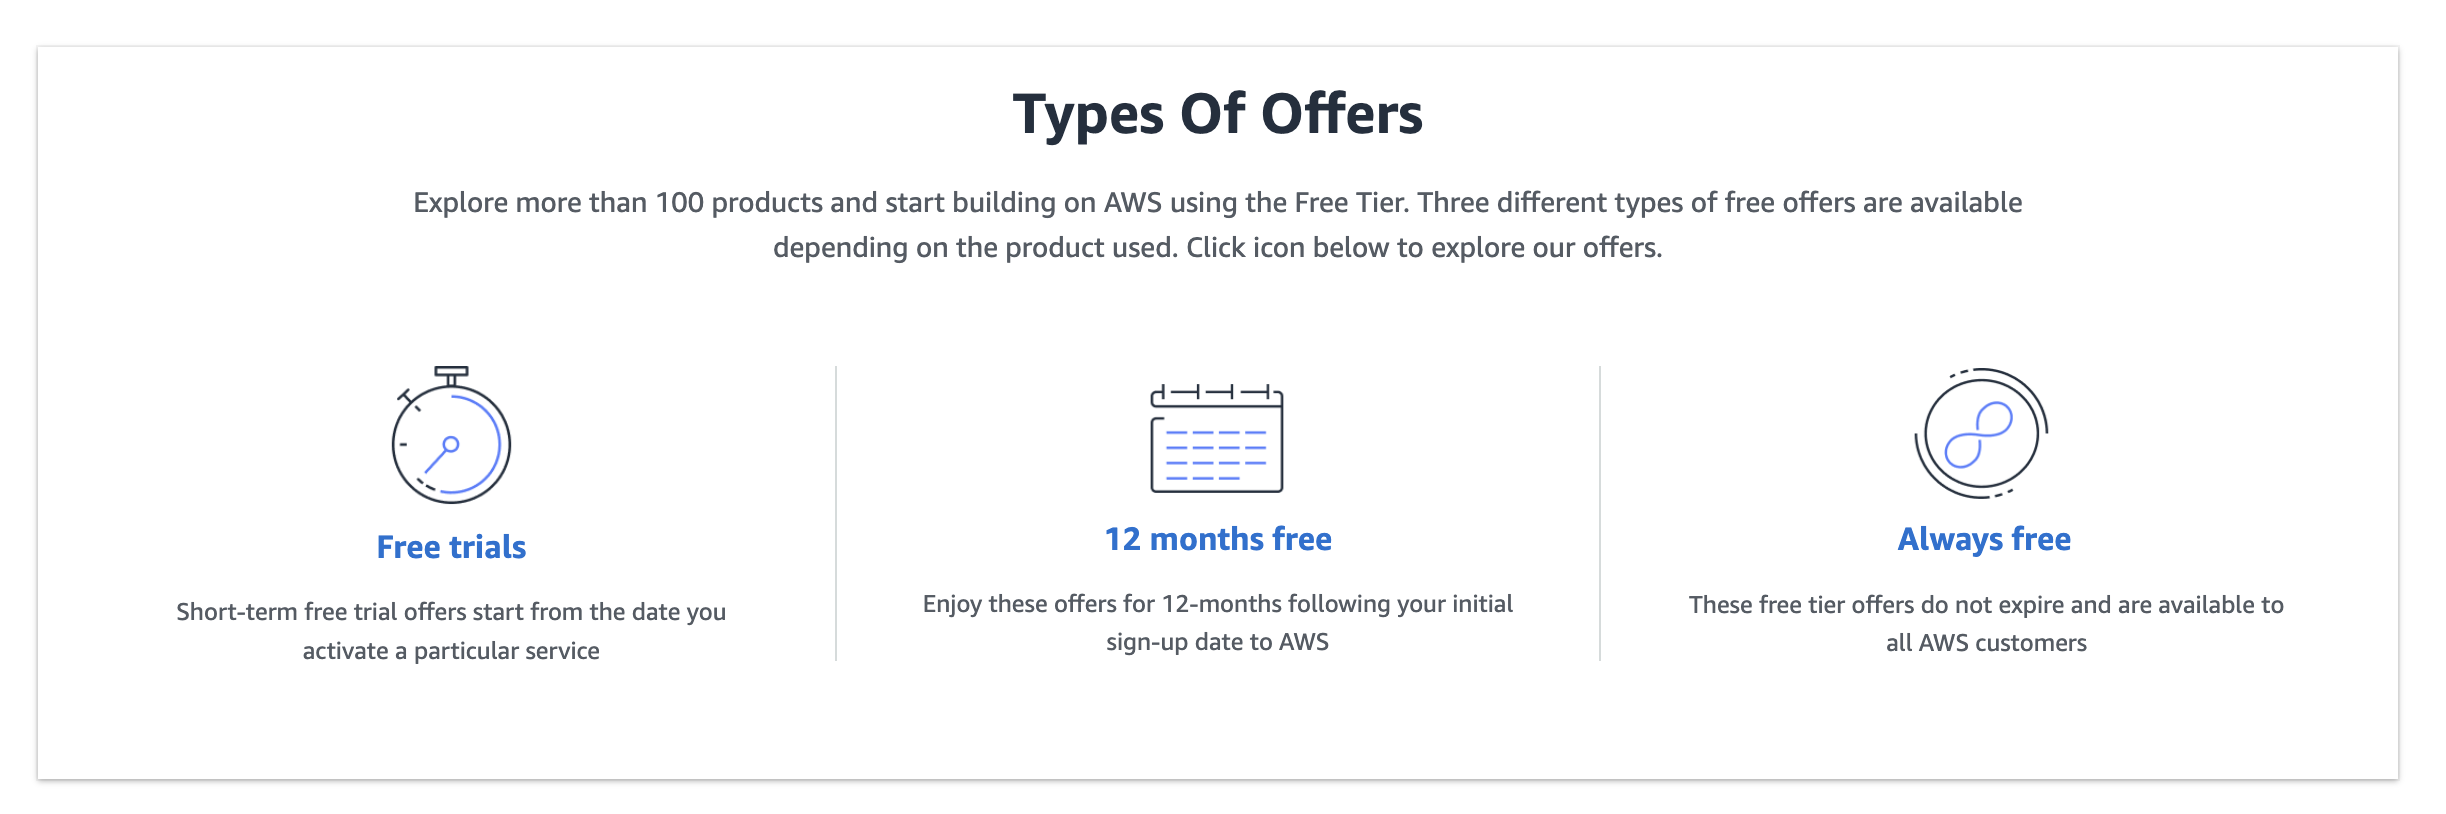
It is encouraged to use this free tier plan first before you use a more powerful machine as this is way than enough for a fresh start in most cases.
2.1 Create an Elastic Compute Cloud (EC2) Instance
For the machine type, choose Ubuntu because this works better with the Ghost installation guide on Ubuntu.
Free tier eligible on the side, otherwise, it might cost you extra money.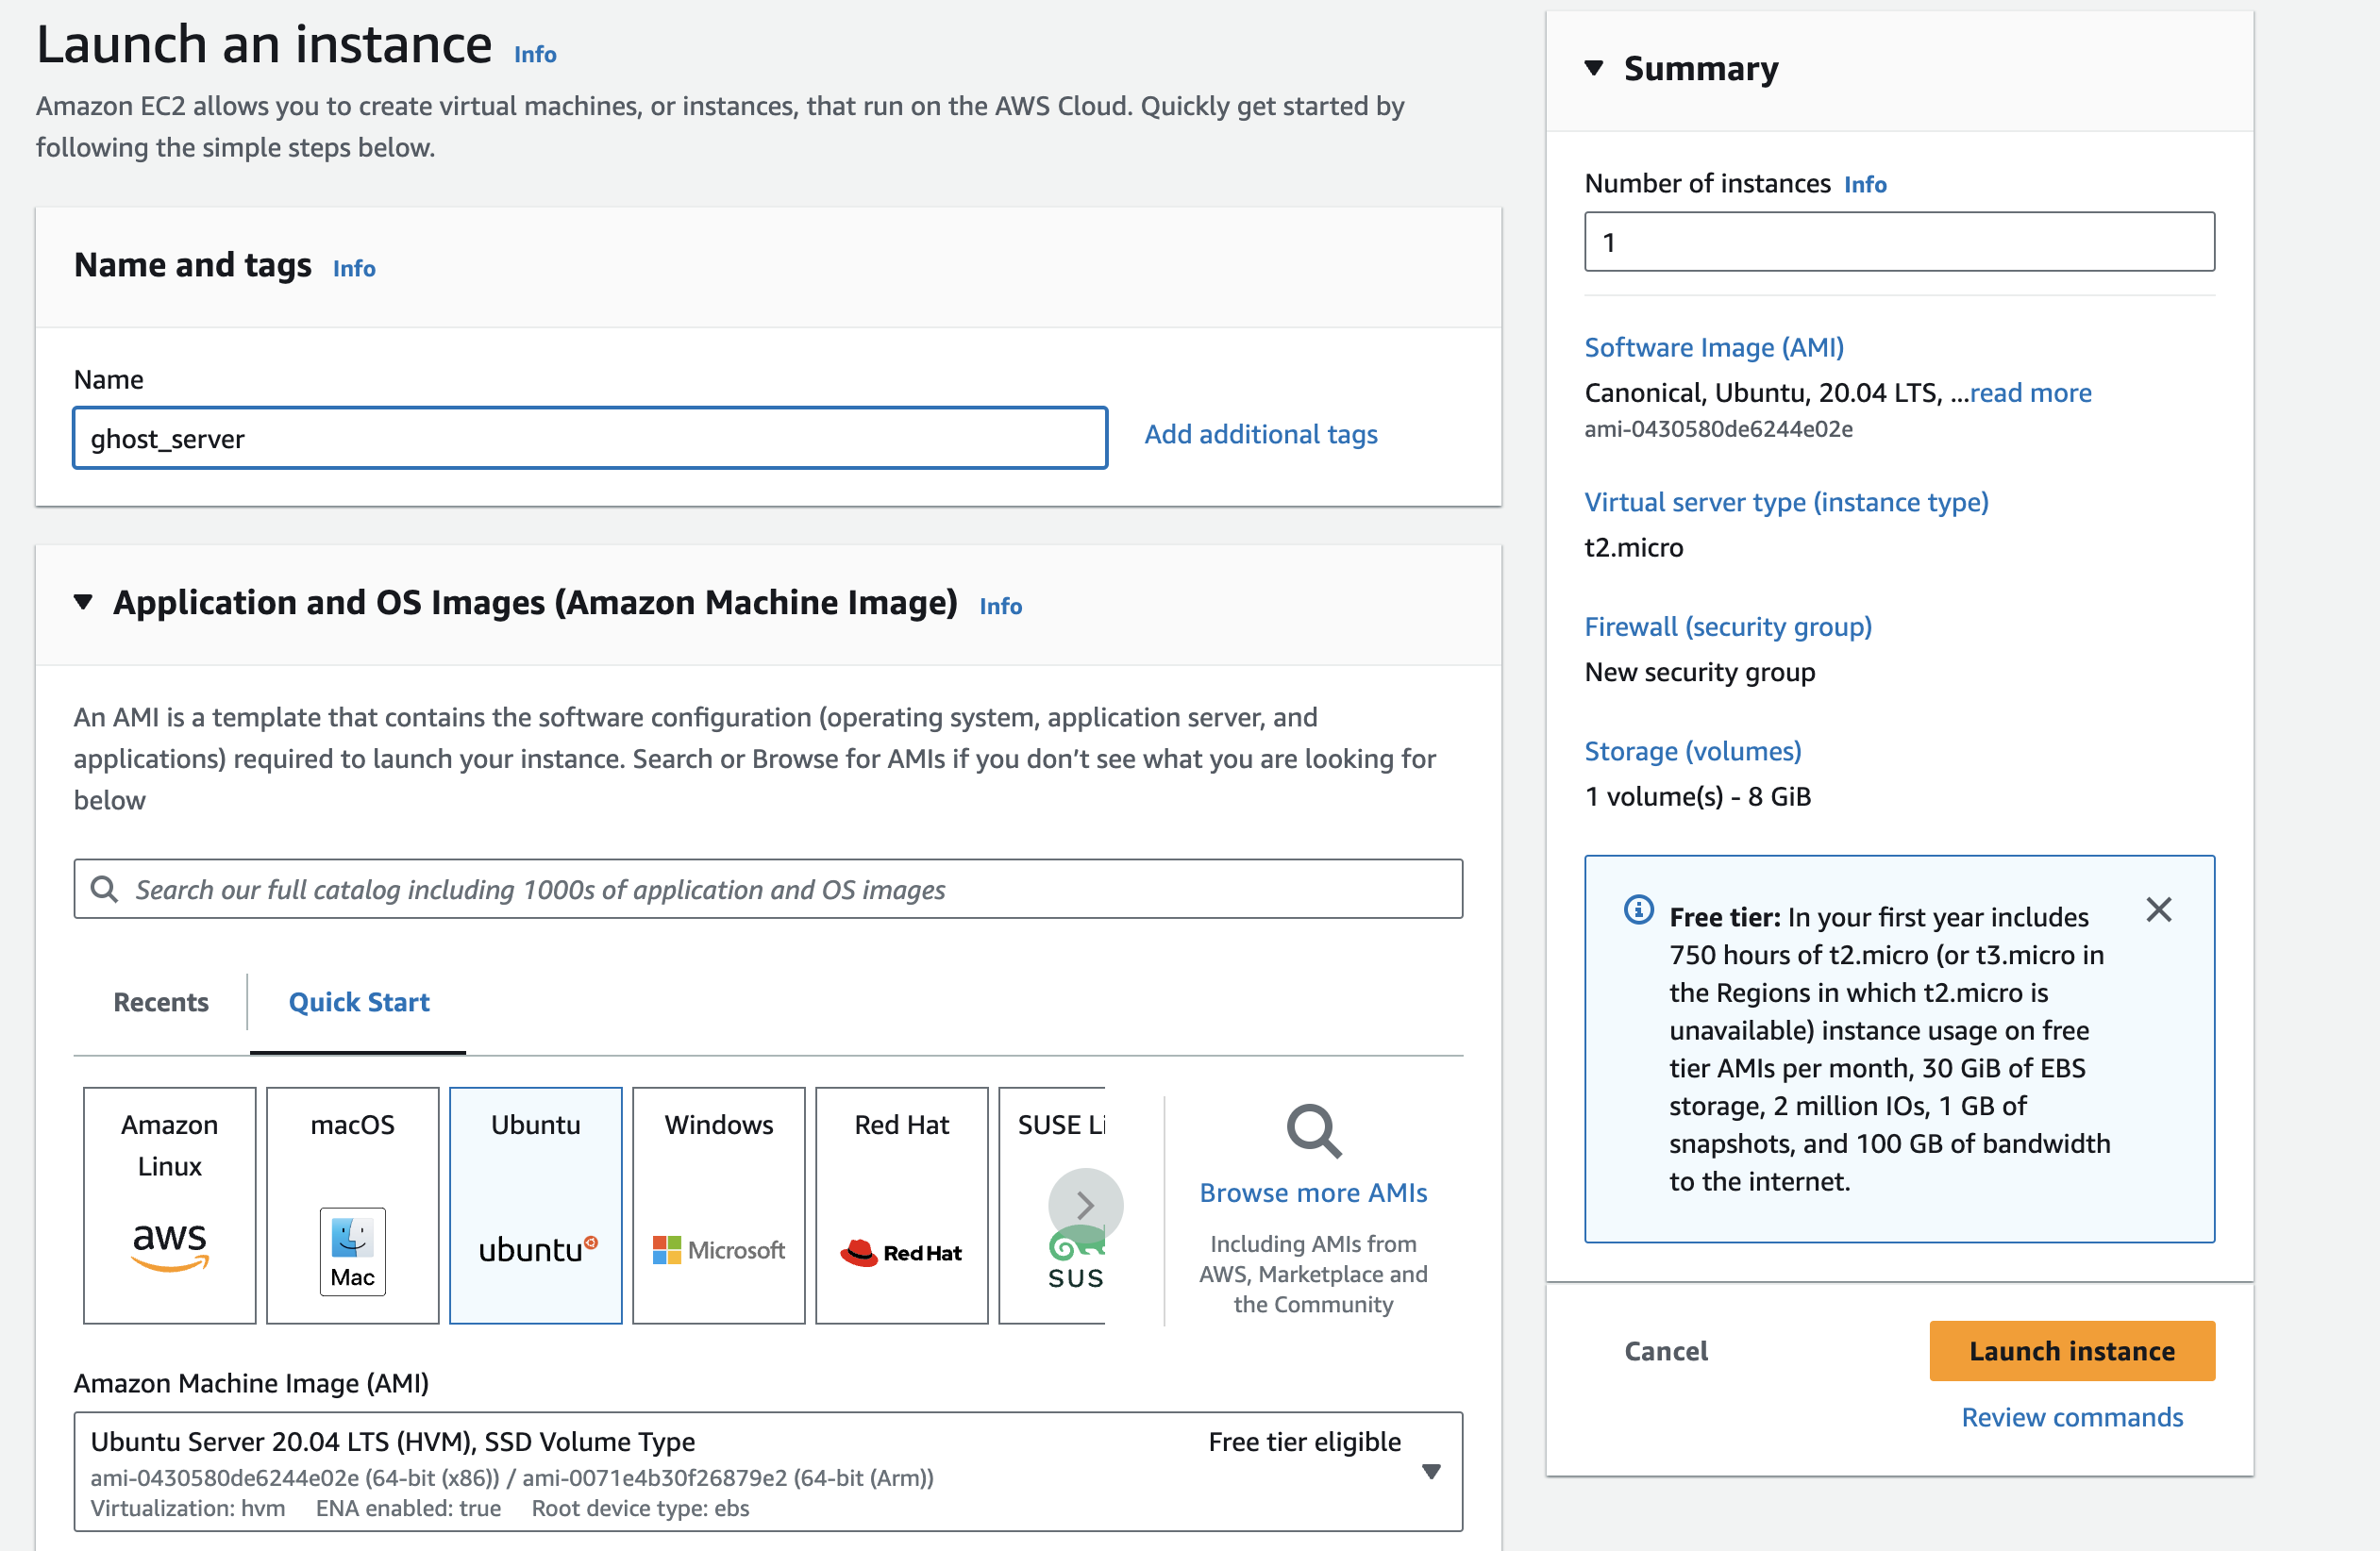
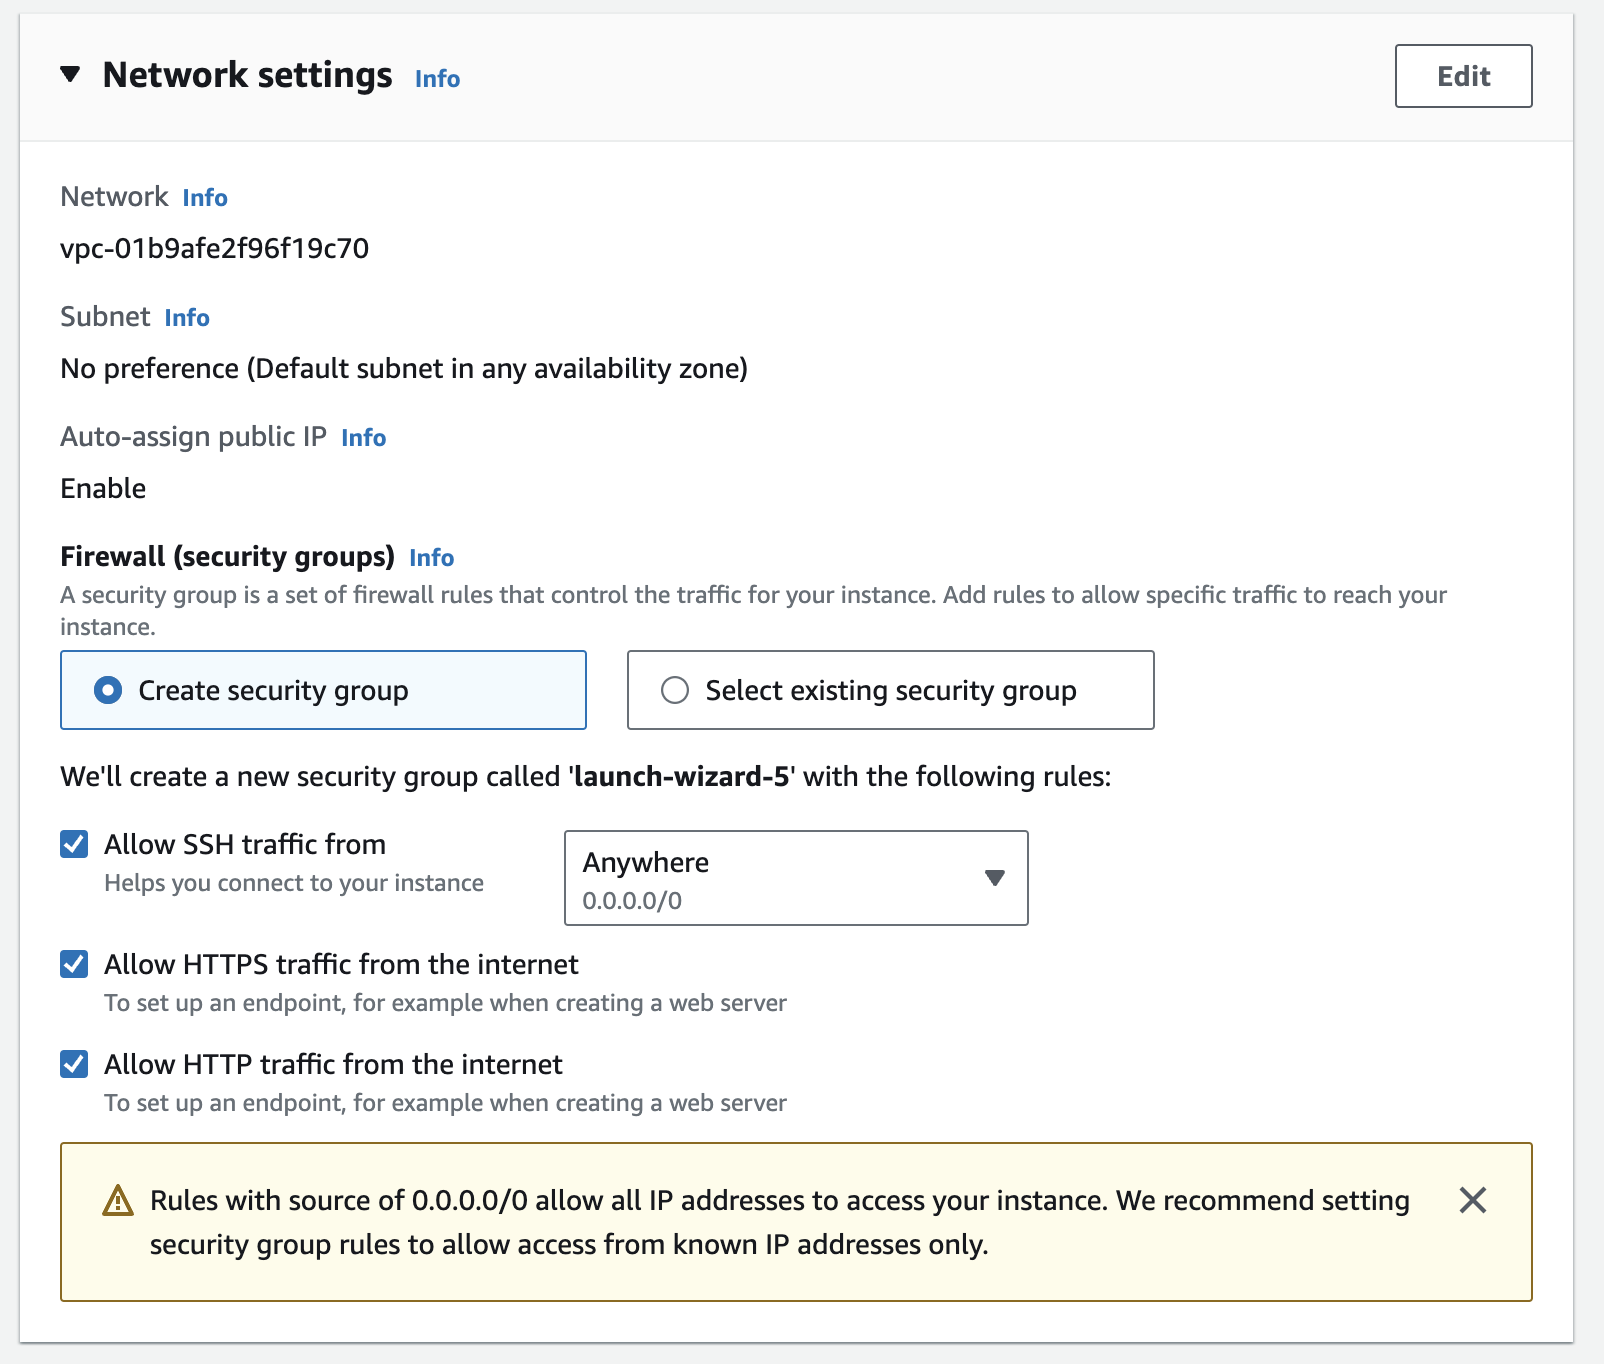
For the network settings, make sure you check the HTTP/HTTPS traffic. You should only allow traffic from your trusted IP like your own IP, the screenshot is just an example.
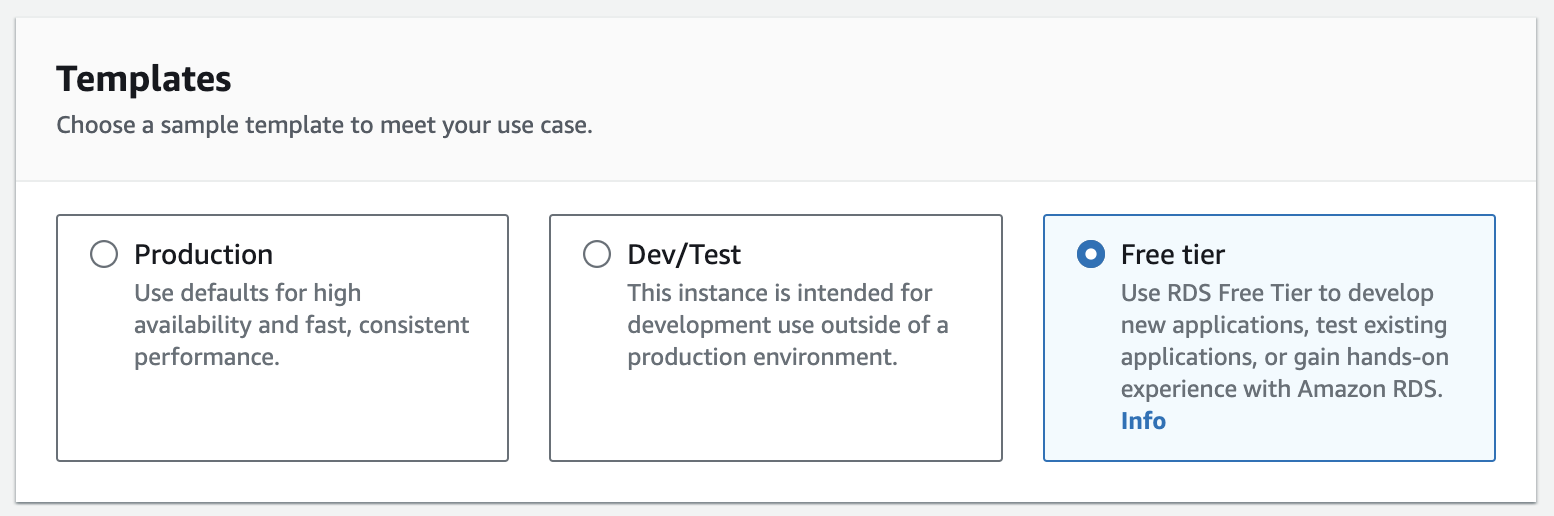
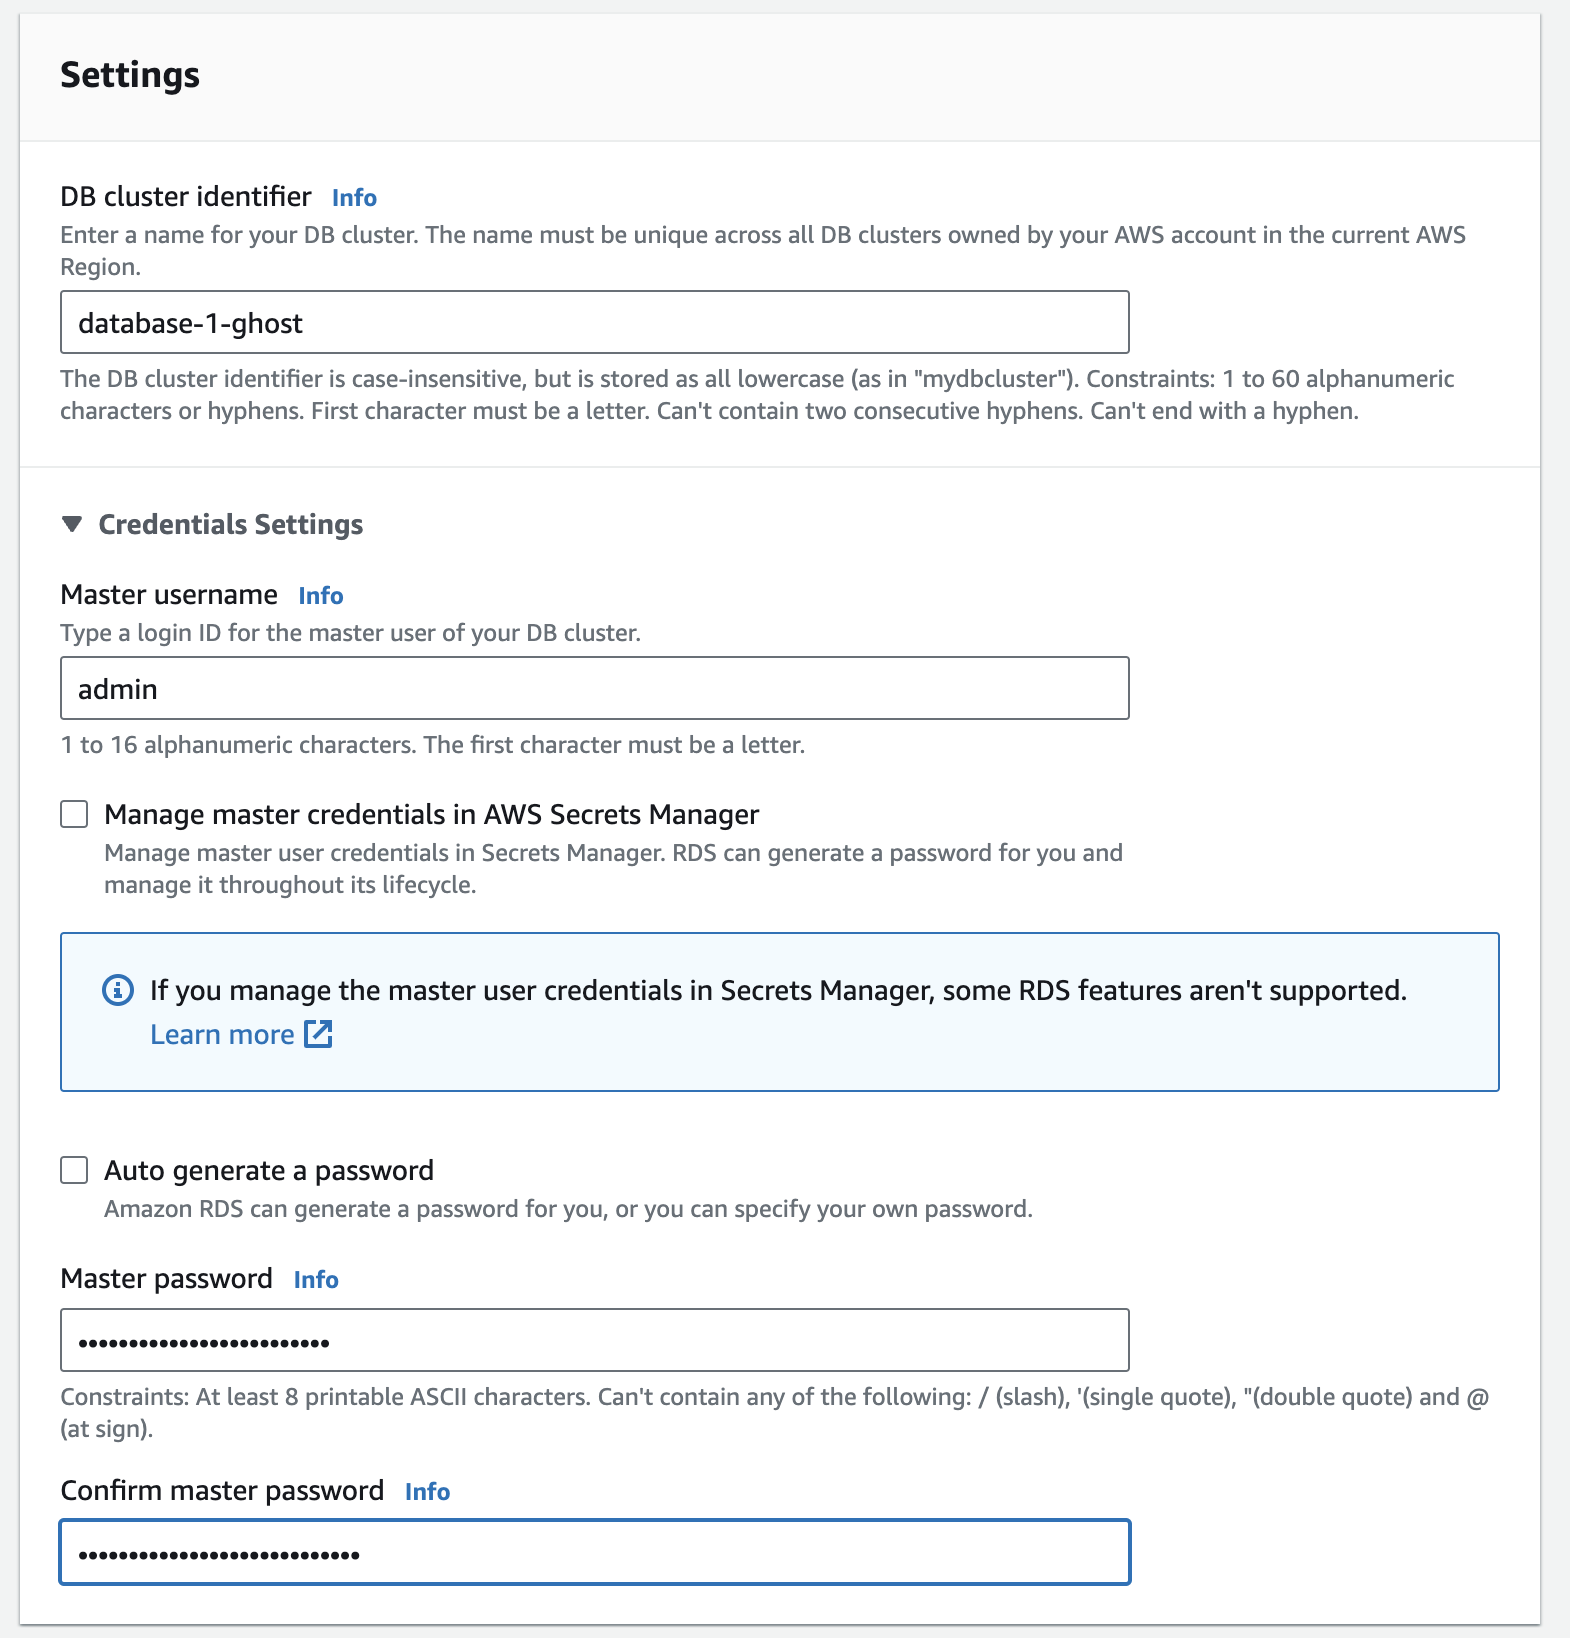
2.2 Create a Relational Database Service (RDS) Instance
Choose MySQL as your database with the free tier template:
And specify yoru password:
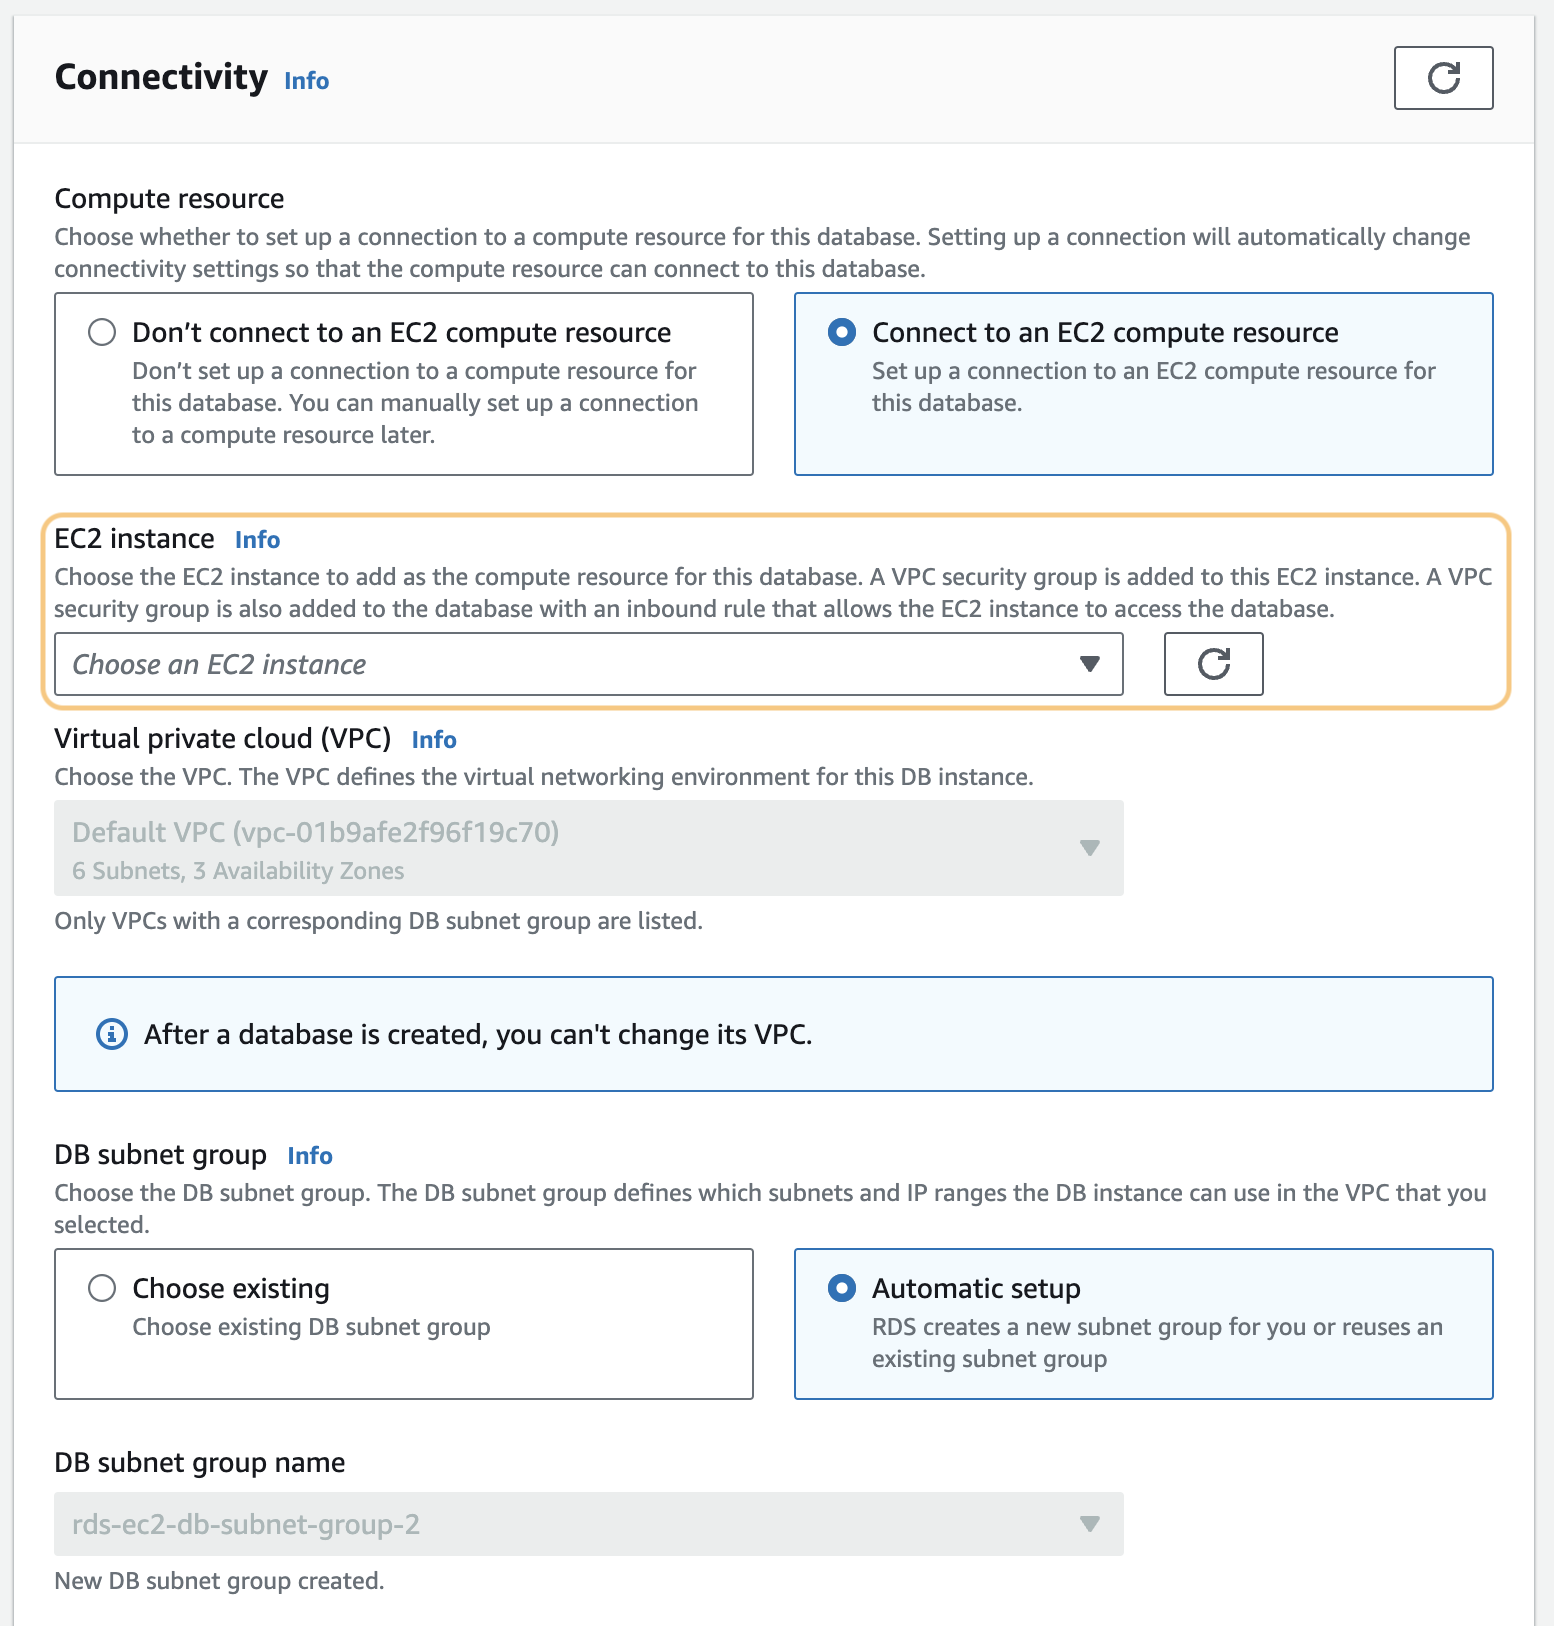
When it comes to the connectivity, make sure you choose to connect to the EC2 instance created in the last step.
Once you have an EC2 and a MySQL database, the next step is to install Ghost on the EC2.
2.3 Install Ghost
Connect to your EC2 instance and open the Ghost installation guide on the side of your EC2 instance and run the command step by step. There are a few things to note while installation:
- It is not necessarily to create a new user if you do not log in the EC2 instance as root, say you log in with a user
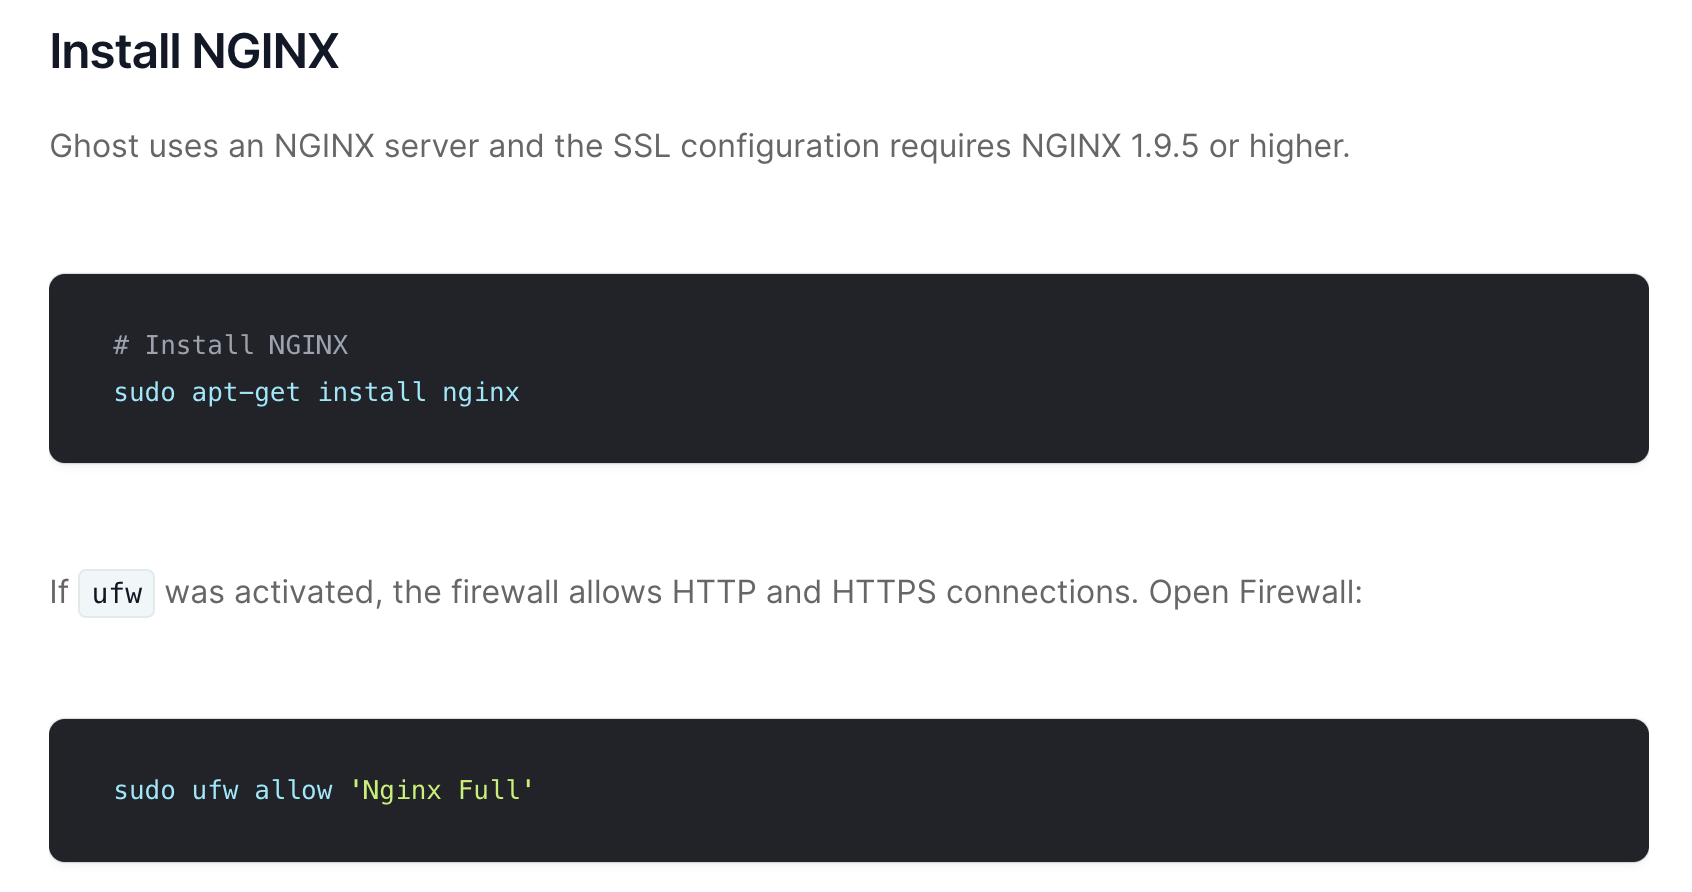
Ubuntu@your_ec2_ip - Make sure there is no error while you install Ngnix, while if you enabled the HTTP/HTTPS traffic as above, the
sudo ufw allow 'Nginx Full'isn't necessary.
- Follow the prompt install questions and give correct answers accordingly.
Then the website should be up and you can go to the public IPv4 address to access the website and customize it.

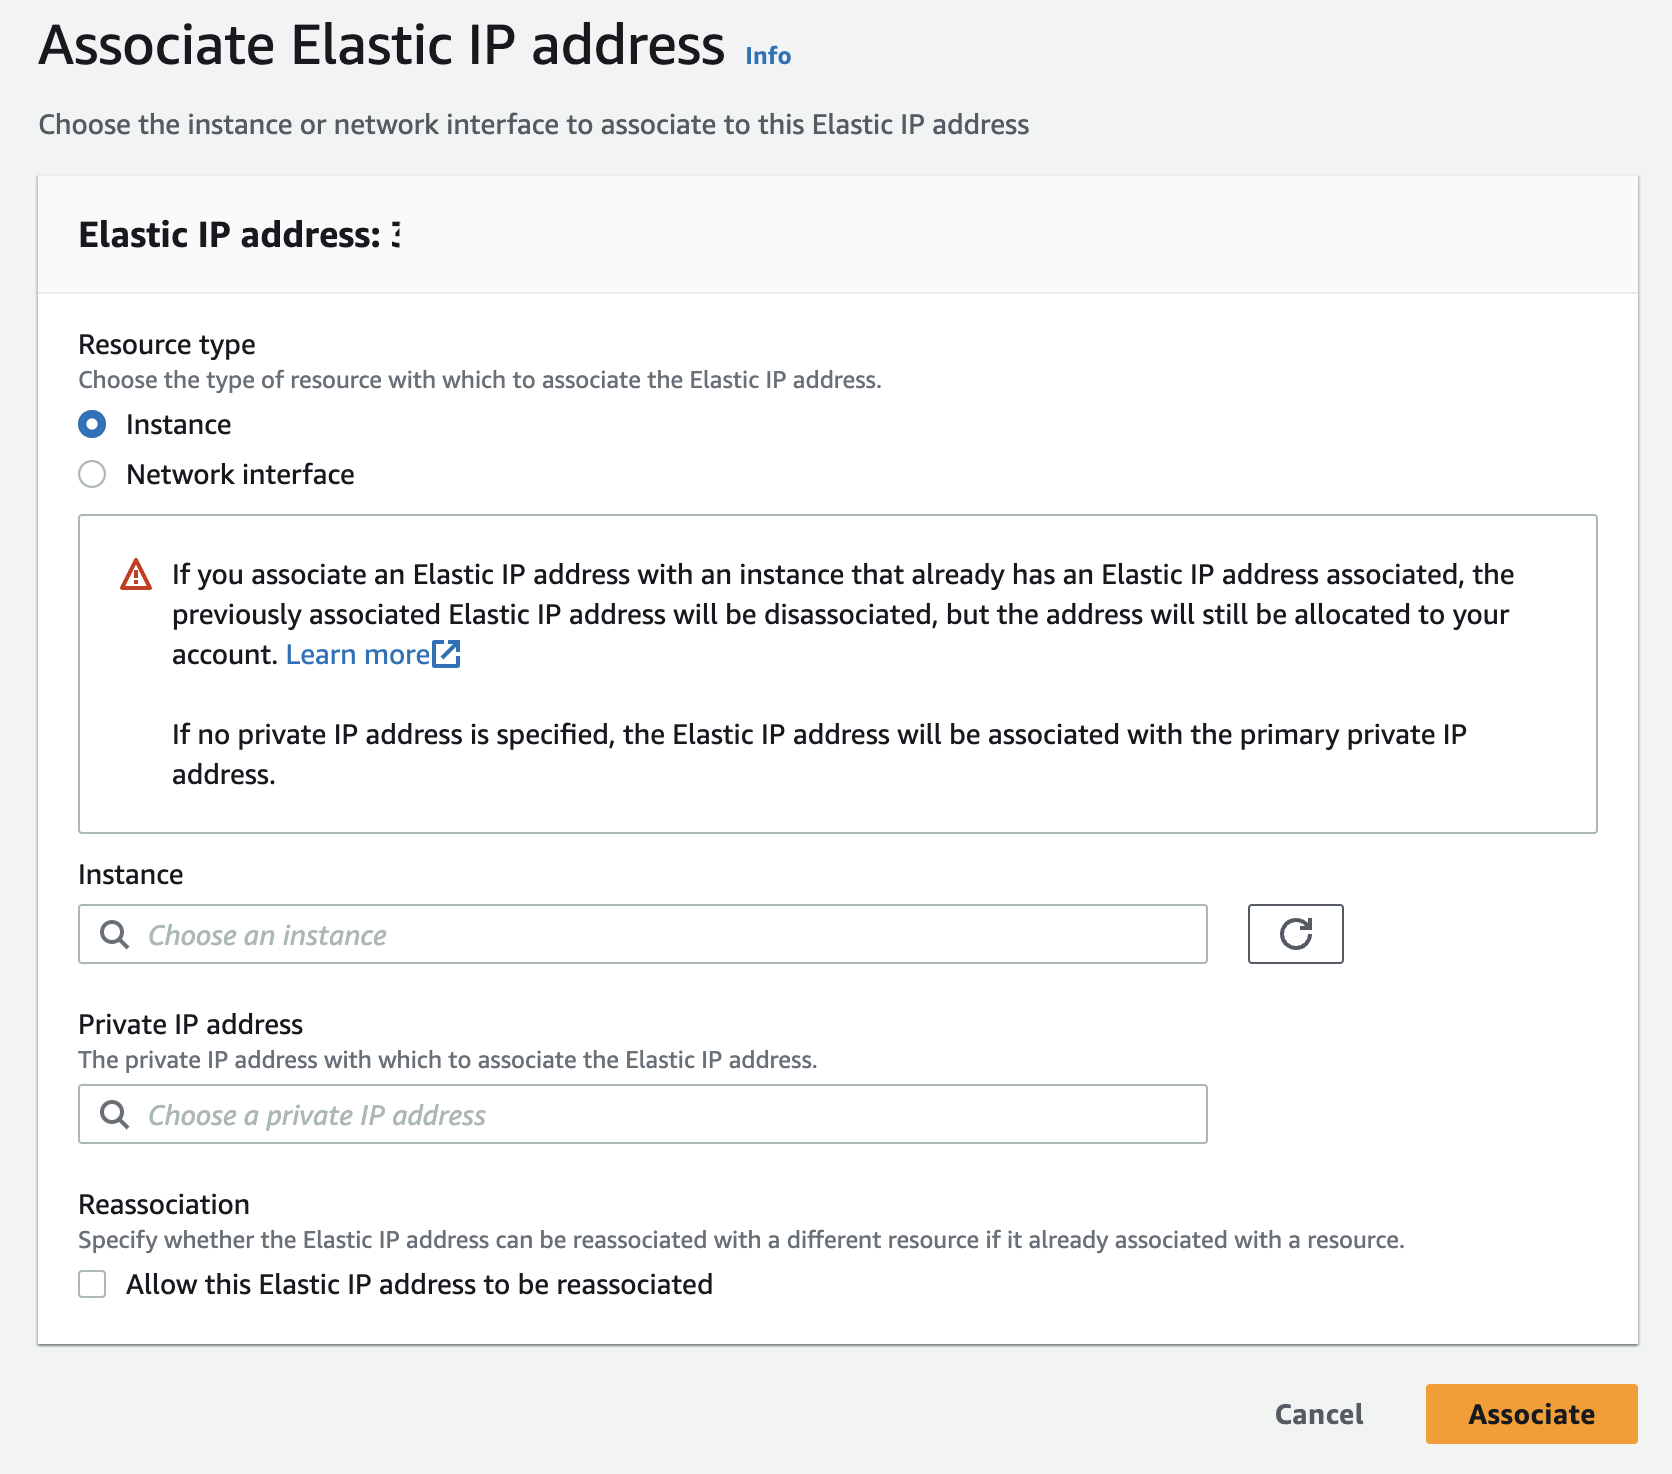
2.4 Set up an Elastic IP
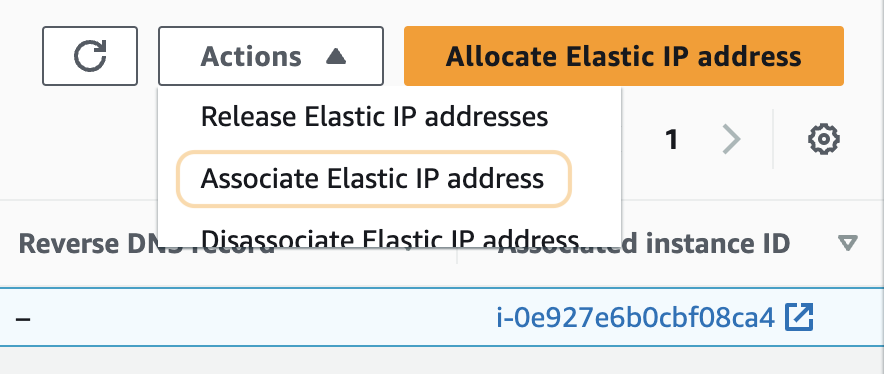
The elastic IP ensures that you can access the website through a determined IP address. Go to the EC2 instance and then enter the elastic IPs on the left bar. And then press allocate an elastic IP orange button on the top right as below:

And then assign this to your EC2 instance:
Once these are all set, then you can access the website through the allocated IPv4 address!
3 Conclusion
By far you are able to run the Ghost blog on AWS and it can be accessible through both HTTP and HTTPS thanks to the easy set up of Ghost CLI. Using docker would be a totally different story and this is out of scope. Next, a domain is to be set up so that the website can be accessed through a name such as vincentyuan.us.